


How to Create a Montessori Playroom at Home (Without Spending a Fortune)
How to Create a Montessori Playroom at Home
(Without Spending a Fortune)
Less stuff. More play. A step-by-step guide to setting up a space where your child genuinely thrives — and actually plays alone.
Every parent has stood in their child's playroom — surrounded by a riot of plastic, batteries that need changing, and toys that sing the same four notes — and thought: there has to be a better way.
There is. And it doesn't require an architect, a massive budget, or a Pinterest account. A Montessori playroom is built on a few simple principles that most parents can implement over a weekend, using some of what they already have and replacing very little of it.
This guide covers everything: what a Montessori playroom actually is, the core principles that make it work, exactly what to include (and what to remove), how to make it work in small spaces, and what you'll notice changing in your child's play once you do.
The basicsWhat Is a Montessori Playroom, Actually?
The term gets used a lot — often alongside beige linen and aesthetically stacked wooden blocks — but the Montessori approach to play spaces is more about function than aesthetics. Dr. Maria Montessori's central insight was that children learn best when they can direct their own activity in a thoughtfully prepared environment.
A Montessori playroom is simply a space that has been set up for the child, not for the adult. That means:
- Child-height access — Everything the child needs is reachable without asking for help
- Limited, purposeful toys — A small rotation of open-ended items rather than every toy available at once
- Order and simplicity — A tidy, predictable environment that children can maintain themselves
- Freedom of movement — Enough open floor space for physical exploration, not just sitting
- Real materials — Natural materials (wood, fabric, metal) over battery-powered plastic where possible
Notice what isn't on that list: a specific aesthetic, an IKEA shelf, or a £500 investment. A Montessori space can be a corner of your living room. It can exist alongside a sofa and a coffee table. The principles work at any scale.
Step-by-stepHow to Set Up Your Montessori Playroom: 7 Steps
Start with a ruthless clear-out
Before you add anything, remove. Most playrooms contain three to five times more toys than a child can meaningfully engage with. Studies on toy quantity and play quality consistently find the same thing: more toys produce shorter, more scattered play. Fewer toys produce deeper, longer, more imaginative engagement.
Go through the room and set aside everything that:
- Requires batteries or has electronic sounds/lights
- Does something for the child rather than inviting the child to do something
- Has only one way to play with it
- Is broken, incomplete, or no longer age-appropriate
- Your child hasn't touched in more than three weeks
Box the removed items and put them in storage rather than throwing them away immediately. You can rotate them back in later. What you keep right now should fit comfortably on open shelving with room to breathe — not crammed in, not stacked.
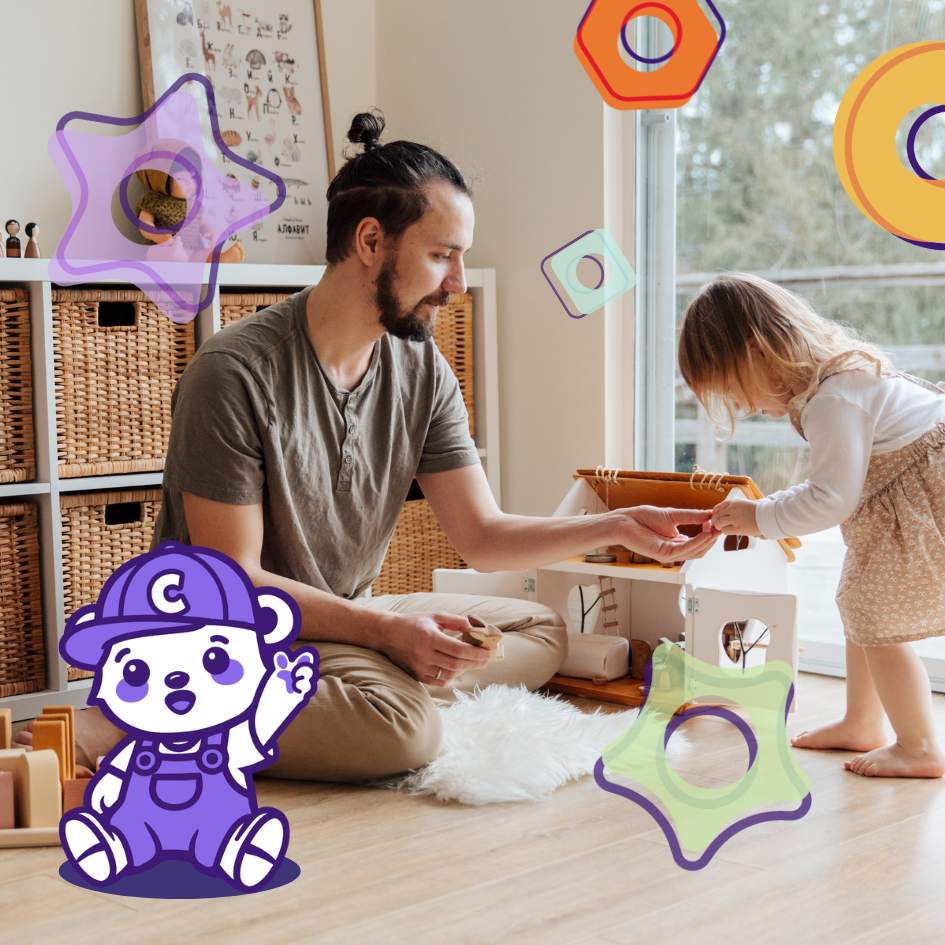
Get shelving at child height
The single most impactful physical change you can make is accessible shelving. When a child can see and reach everything independently, they can initiate play without adult help. This is the physical foundation of independent play.
Low shelves (30–60cm high for toddlers, up to 80cm for school-age) work best. You don't need specialist Montessori furniture — horizontal IKEA units, low bookshelves, or even a row of wooden crates work perfectly. What matters is that the surface is open (not in boxes or bins where items are hidden) and uncluttered.
Practical tip: Display each item separately, ideally on a small tray or in a basket. This makes choosing easier for the child and tidying simpler at the end of play — both of which support independence.
Create clear zones for different kinds of play
A Montessori playroom typically separates different types of activity into distinct areas. This helps children transition intentionally between play modes and makes the space easier to navigate independently. The zones don't need to be large or physically separated — visual cues (a rug, a specific shelf, a change in flooring) are enough.
- Active / gross motor zone — Space for climbing, movement, and physical challenge. This is where your large play equipment lives.
- Quiet focus zone — A small table and chair for drawing, puzzles, reading, or craft. Low stimulation, calm materials.
- Sensory zone — Open bins or a table for hands-on sensory exploration: sand, water, rice, kinetic materials.
- Creative / imaginative zone — Open-ended materials like blocks, figures, loose parts, and art supplies.
- Rest nook — A small corner with a cushion or mat where a child can self-regulate and decompress. Often overlooked but very useful.
You don't need all five. In a small space, even two zones — active and quiet — make a significant difference to how your child moves through the day.
Prioritise the active play zone
This is where Montessori playrooms tend to diverge from what most people imagine. Montessori pedagogy places enormous emphasis on movement — not as a reward or an extra, but as a core developmental need. Children who have regular access to physical challenge develop better focus, self-regulation, and cognitive performance than those who don't.
The active zone needs to give children something to climb, balance on, or physically challenge themselves with. For toddlers, this might be a small Pikler-style triangle or a low climbing arch. For older children (3+), something more substantial — a climbing wall, a Swedish ladder, or a convertible piece that adapts between active and quiet modes — is enormously valuable because it holds their interest for years, not months.
The body and the brain are not separate systems. Children who move well, think well. Physical challenge is cognitive development.
What you're looking for in active play equipment: open-ended (no prescribed way to use it), scalable in difficulty (grows with the child), and durable (built to be used hard, every day). Solid wood, CPC-certified safety, and minimal design are the marks of equipment worth investing in.
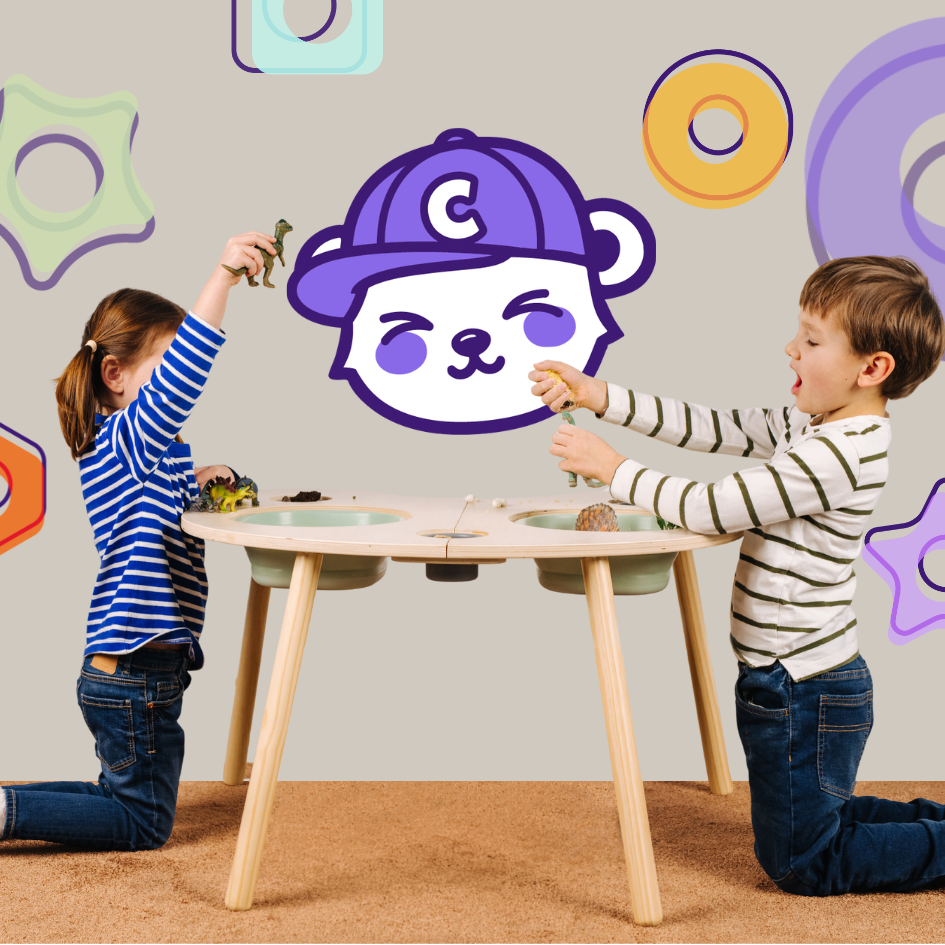
Set up a sensory and focus area
Alongside the active zone, a dedicated space for sensory and fine-motor play rounds out the energy curve of the day. After high-movement play, children naturally shift into a calmer mode — and a sensory table or quiet focus station gives them somewhere to land.
A sensory table is one of the highest-value pieces in a Montessori playroom because it can be used in so many different ways: sand play, water play, rice, kinetic sand, nature collections, small-world scenes. The activity changes; the table stays. It also covers the fine motor and cognitive development that the active zone doesn't — scooping, pouring, sorting, building.
If you have a piece with a "learning mode" (lids on for drawing and puzzles, lids off for sensory bins), even better — it bridges the focus zone and the sensory zone in one footprint.
Choose open-ended toys, ruthlessly
Once the furniture and large equipment are in place, the toys that fill your shelves should follow one rule: the child decides what it does. Open-ended toys are those that can be used in multiple ways across multiple ages. They don't reward passively. They invite actively.
- Wooden blocks — Unit blocks or Kapla planks work from 18 months through age 8+ in increasingly complex ways
- Loose parts — Stones, shells, pinecones, wooden discs, fabric squares — free, endlessly reusable, and deeply engaging
- Simple puzzles and sorting games — Chosen to match the child's current developmental stage, not collected
- Art materials — Good crayons, pencils, paint, and paper (not craft kits with predetermined outcomes)
- Construction sets — Duplo/Lego for younger kids, magnetic tiles, or open-ended building sets
- Realistic small figures — Animals, people, and vehicles that invite storytelling and small-world play
Notice what's not on the list: battery toys, electronic learning devices, character-branded sets, or single-purpose items. That's deliberate. A toy that tells the child what to do is a toy doing the child's thinking for them.
Rotate toys regularly — and start small
Once you've curated your selection, don't put everything out at once. Montessori toy rotation is one of the most effective tools for sustained engagement: keep out 6–10 items at a time, and swap in different items every few weeks. The returning toy becomes novel again. Engagement deepens.
A simple rotation system might be three labelled boxes in storage, each with a different selection. Every two to three weeks, swap one box. Your child gets a "new" playroom without you spending anything.
Starting small works best. You don't need to transform the whole room in a day. Begin with one shelf, cleared and accessible. Add one open-ended toy. Watch what happens. Build from there.
What If I Don't Have a Dedicated Playroom?
Most families don't. And Montessori principles work perfectly in living rooms, bedrooms, and hallways — because they're about how a space is organised, not how large it is.
In a small space, your priority is:
One open shelf at child height, even a single unit, transforms a corner of a living room into an independent play space. One large piece of active equipment — ideally wall-mounted to preserve floor space — gives the physical dimension of play without dominating the room. One sensory activity set up on a table or low surface gives the quiet, focused dimension.
Three intentional pieces. That's a Montessori play environment. Everything else is optional.
What to expectWhat Will Actually Change
Parents who make this shift consistently report the same things. The first few days can feel like a backwards step — children may seem bored, may ask for the old toys back, may need more of your attention than usual. This is normal. You are asking a child who has been entertained by toys to start entertaining themselves, and that requires recalibration.
By the end of the first week, something shifts. Play becomes deeper. The same item gets used for longer. Children start inventing their own uses rather than waiting to be entertained. The climbing wall becomes a ship and then a mountain and then a testing ground for new moves. The sensory table becomes a bakery and then a construction site and then a laboratory.
And you start getting your time back. Not because the space is a babysitter — you're still nearby — but because your child has learned to begin play without you, sustain it without you, and end it without you needing to manage the transition. That small shift changes the texture of an entire day.
A child who can play well alone is a child who trusts themselves. That confidence doesn't stay in the playroom.
The Montessori playroom isn't a trend. It's a well-tested approach to giving children what they actually need — space, challenge, simplicity, and freedom — while giving parents the quieter day they're quietly hoping for.
You don't need to spend a fortune. You need to be intentional about what you keep, what you provide, and what you step back from. The rest takes care of itself.

Leave a comment